A very quick first video tutorial – The Screen Blend Mode

Hi folks! I hope that you are all well?

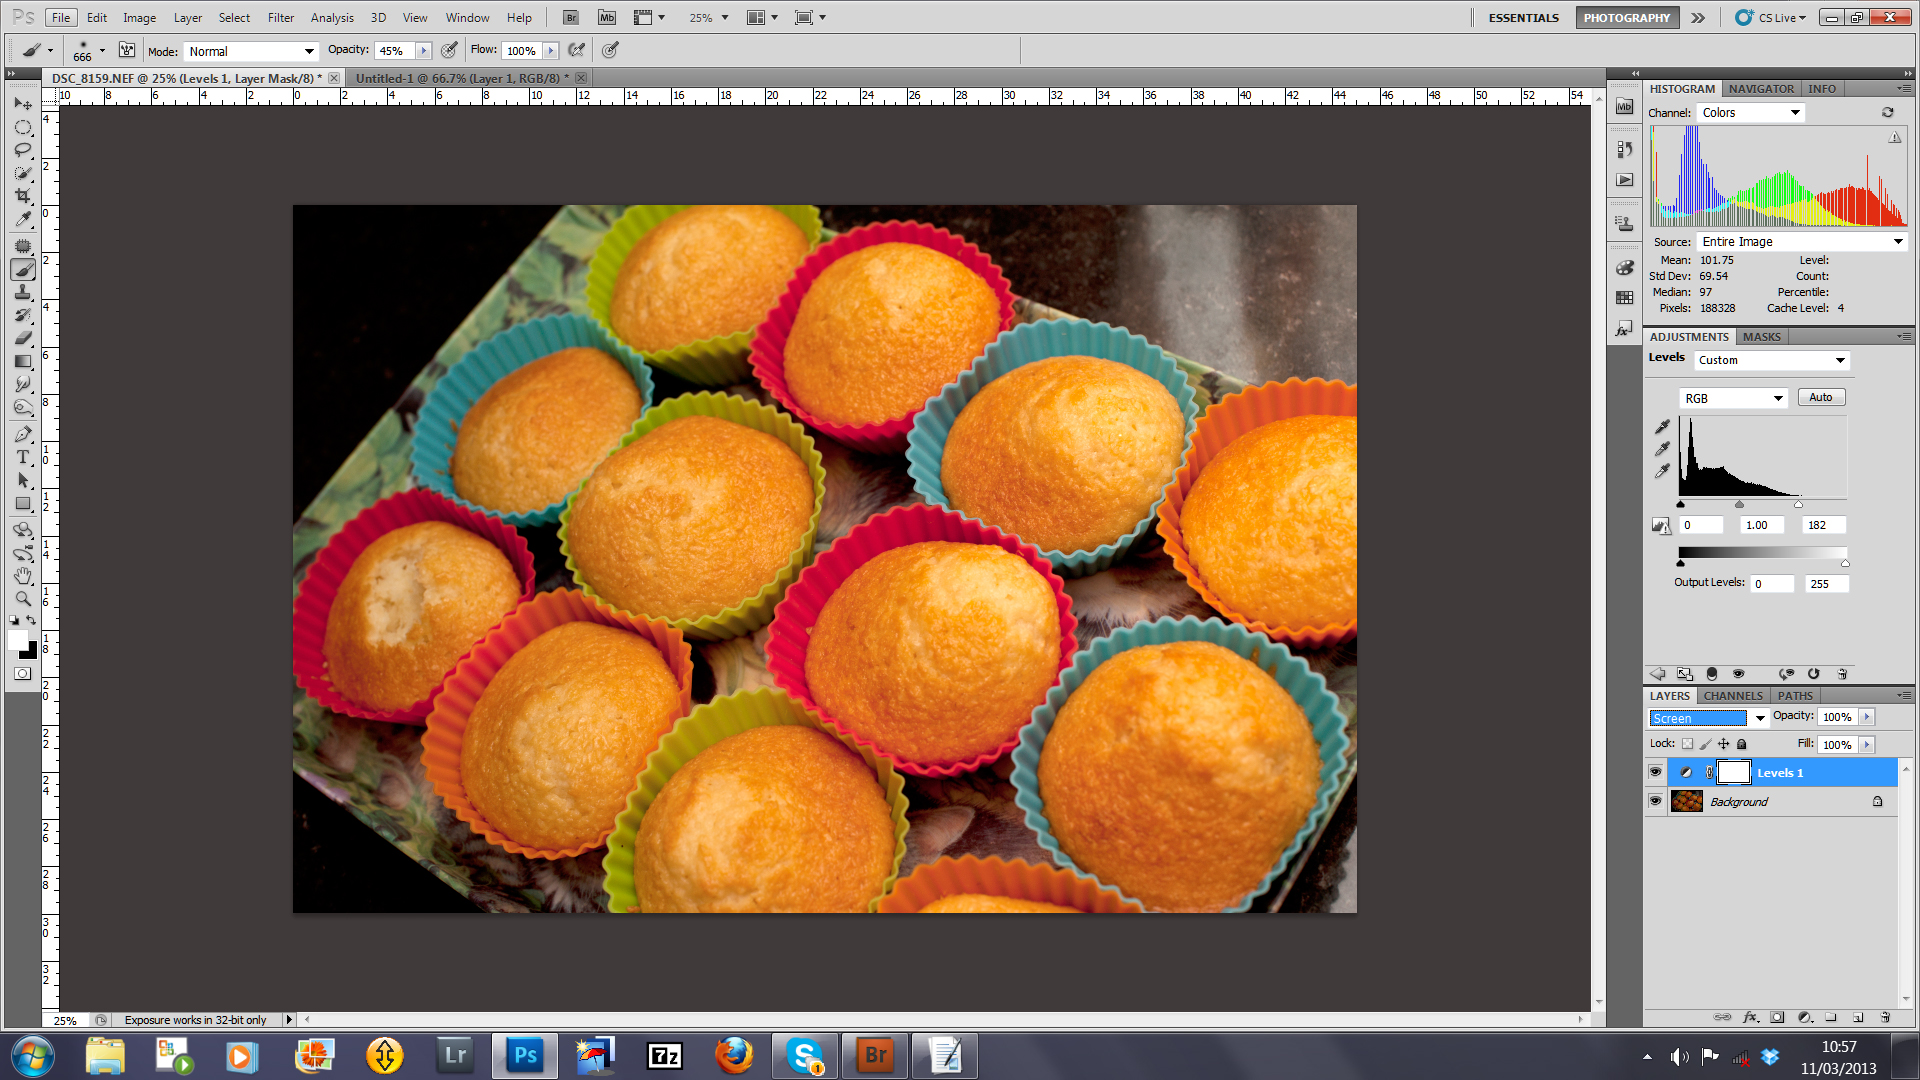
Not so long ago I put together a tutorial showing you how to brighten up your images using the SCREEN blend mode.  This is a fantastic little technique because you can use it for a variety of different techniques, for example brightening the whites of the eyes, as well as the general image.

The post to which this relates to can be found by clicking here.

This is my first video, and there is no sound as I have written out the steps to the technique on the linked post.  Please let me know what you think and I am sure that by the time I record the next few I will be a whizz at the software I have downloaded!


Thanks for stopping by and please leave any comments below or contact me via e-mail on todor@nw10photography.com


Quick Photoshop Technique – Brightening Images using Blend Modes

Hello and welcome from a snowy London! What the heck is going on with the weather?  I cannot remember a March like this before where it has snowed!

Here is a very quick tutorial for you for you to give your images brightness using the levels adjustment layer and the Screen blend mode.

This is a very basic technique but I have used it on a number of occasions, now.

Step 1
Open the image that you are looking to edit in Photoshop.

Step 2
Click the Levels Adjustment Layer

1

Step 3
Change the blend mode to Screen

2

Step 4
Press Command/Control I to invert the white adjustment layer to black and cover the whole image.

3

Step 5
Select a soft brush and change your foreground colour to white and paint over the areas you wish to lighten.  Should the area you painted over be too bright then just adjust the opacity of the layer until it looks correct.  In this image the left hand side of the image has been adjusted to show you the difference in shade and brightness.

4

Thanks for stopping by.  I propose to upload a quick video of this tutorial in the next couple of weeks.

This technique can be used for a number of different purposes, especially when whitening the whites of the eyes.  It involves the same steps as this one.

If you would like to leave your comments you are more than welcome in the section below,

Todor
My Website

A short lesson on Dodge & Burn

Here is a short, yet extremely useful lesson, on Dodging and Burning.  I have only recently discovered the power of Dodging and Burning.  Essentially, Dodge and Burn are used to lighten or darken areas of the image – Dodge to lighten and Burn to darken.  I have found an excellent video tutorial online by A.J. Wood.  So far I have found this to have the best effect on my images.

As I use this technique now pretty much all the time I have created an action to speed up my editing.

Thanks for reading.

Todor

Credits –

AJ Wood

Photoshop : Short lesson on how to make pictures pop using Lab Colour Mode

Now something that I am very keen on doing is to learn more about how Photoshop works and its imense power it has when editing images.  I have to admit, that I made the fatal error at the start of my photographic career to over rely on Photoshop actions and not really learn about what I could do by learning just a few easy editing techniques.  One thing that has really helped me is having been introduced to people like Scott Kelby, Matt Kloskowski, Glyn Dewis and other experts.  This has taught me so much – especially with respects to retouching people as well as the secrets of compositing and selections in CS5.

There is one technique I would like to share with how to make a colour pop.  I only recently found this technique out whilst reading an article on Shutterbuzz, the Shutterstock blog.  This technique uses the Lab Colour Mode.  Lab Color Mode allows you to manipulate the luminosity and colour of your images with more flexibility compared to just working in RGB.  Lab’s greatest advantages are its greater ability to drmatically alter colour (tone/saturation) as well as not degrading your images like working in RGB.

Here is a short video tutorial that I found on youtube which teaches you in a few easy steps how to make your colours pop within Photoshop.  Credit for this video goes out to Karl Taylor of Faded and Blurred [click here] – for youtube channel [click here].

I hope you enjoyed the lesson.  As always please feel free to leave your comments.

Haver a great weekend!

Todor

nw10photography