Hello and welcome from a snowy London! What the heck is going on with the weather? I cannot remember a March like this before where it has snowed!
Here is a very quick tutorial for you for you to give your images brightness using the levels adjustment layer and the Screen blend mode.
This is a very basic technique but I have used it on a number of occasions, now.
Step 1
Open the image that you are looking to edit in Photoshop.
Step 2
Click the Levels Adjustment Layer

Step 3
Change the blend mode to Screen
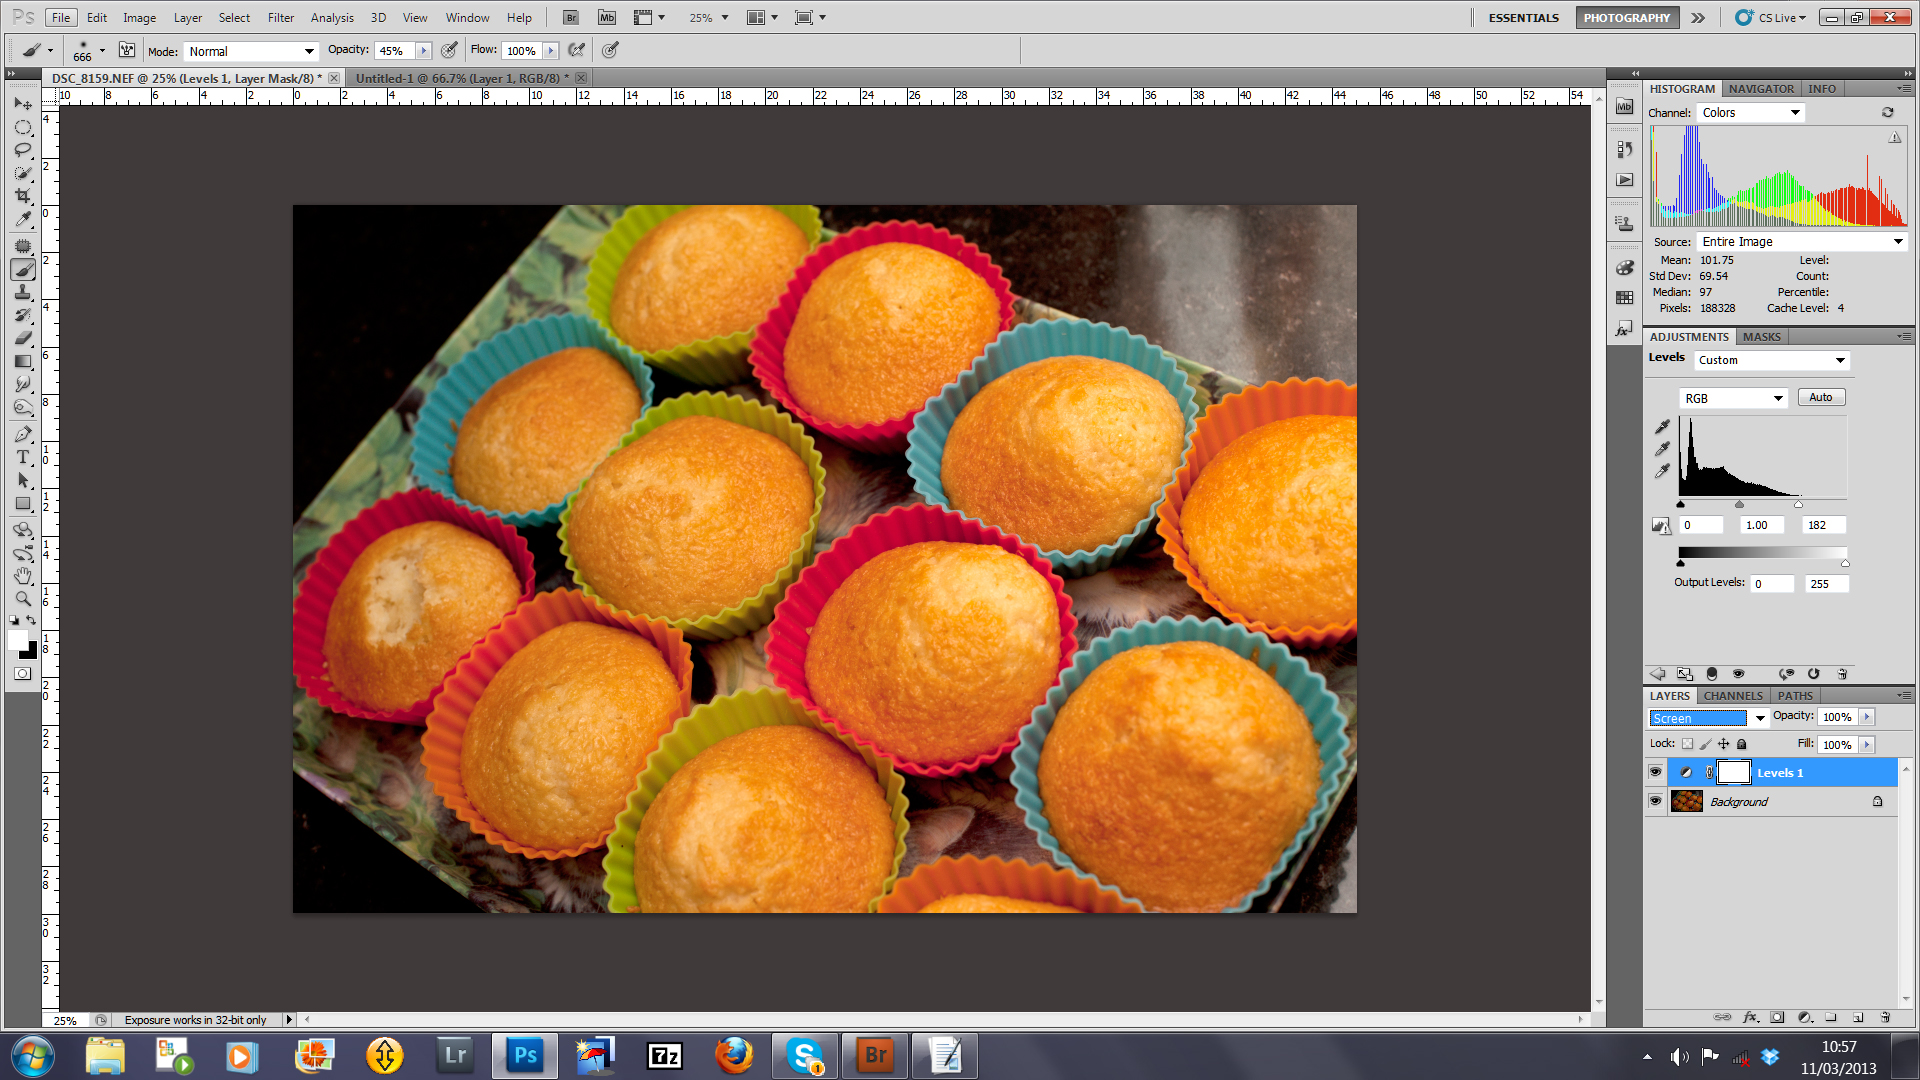
Step 4
Press Command/Control I to invert the white adjustment layer to black and cover the whole image.

Step 5
Select a soft brush and change your foreground colour to white and paint over the areas you wish to lighten. Should the area you painted over be too bright then just adjust the opacity of the layer until it looks correct. In this image the left hand side of the image has been adjusted to show you the difference in shade and brightness.

Thanks for stopping by. I propose to upload a quick video of this tutorial in the next couple of weeks.
This technique can be used for a number of different purposes, especially when whitening the whites of the eyes. It involves the same steps as this one.
If you would like to leave your comments you are more than welcome in the section below,
Todor
My Website


You must be logged in to post a comment.